How to Connect Your Wallet to velto
.png)
Getting started on velto can take less than a minute. There is no account to create, no velto KYC process to complete by velto, and no email required. You connect your existing wallet, or create one on the spot, and you are ready to trade.
This guide walks you through every option available step by step, so you can get connected and start trading through velto's interface.
Step 1 - Get started and choose your network
Click on the “Get started” button in the top right corner of the page.

You’ll be redirected to our trading interface. Click again on “Get started” to open the connection flow and start by selecting your network.

The most common networks are listed by default: Arbitrum, BNB Chain, Ethereum, and Solana. If you want to see the full list, switch to "All networks" to browse every supported chain.

If you are exploring velto before committing real funds, you can also select Testnet mode, which gives you access to test environments on Arbitrum Sepolia, BNB Smart Chain Testnet, Abstract Sepolia Testnet, and Solana Devnet.

Once you have selected your network, you are ready to connect your wallet.
Step 2 - Connect Your Wallet
Once you have selected your network, you will see the wallet connection options. These vary slightly depending on which chain you chose.
Connecting on EVM chains
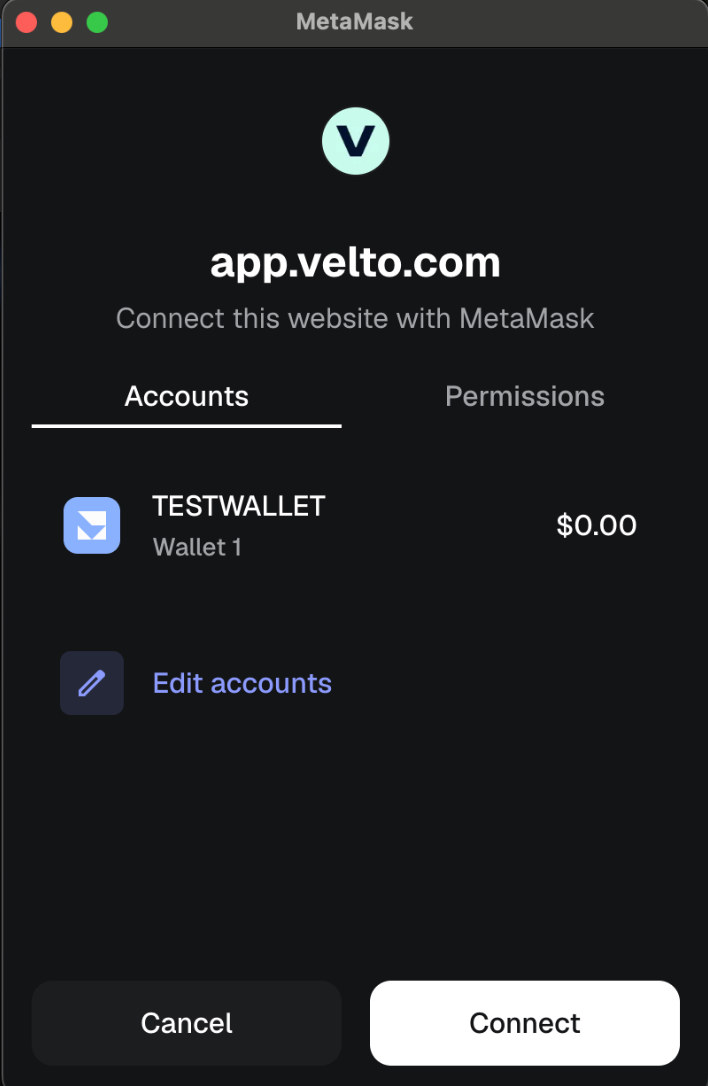
If you selected an EVM-compatible network, you will see the full list of supported wallets. This includes Phantom, MetaMask, OKX Wallet, Binance Wallet, and WalletConnect.

Selecting WalletConnect gives you access to an even wider range of compatible wallets.

If your wallet is not immediately visible, use the search bar to find it. Select your wallet and approve the connection request when your wallet prompts you.
Connecting on Solana
If you selected Solana, you will see the wallets with native Solana support: Phantom, Binance Wallet, MetaMask, OKX Wallet, Solflare, and Ledger. Select whichever you use and approve the connection in your wallet.

Connecting via email, Google, or X
If you do not have an existing wallet or prefer a simpler setup, velto lets you connect using your email address, Google account, or X account.
This option is powered by Privy, a third-party wallet infrastructure provider. When you connect this way, Privy creates and manages a self-custodial wallet for you. velto does not create or hold your wallet. You are creating a wallet through Privy’s infrastructure and connecting it to velto, the same way you would connect any other wallet.
Once you have selected your method and approved the connection in your wallet, you are connected and ready to trade.
Note: If you connect through email, Google, or X, keep in mind that your Privy wallet currently does not support direct deposits and withdrawals. For those actions, you will need a separate self-custodial wallet such as MetaMask or Phantom connected alongside it.
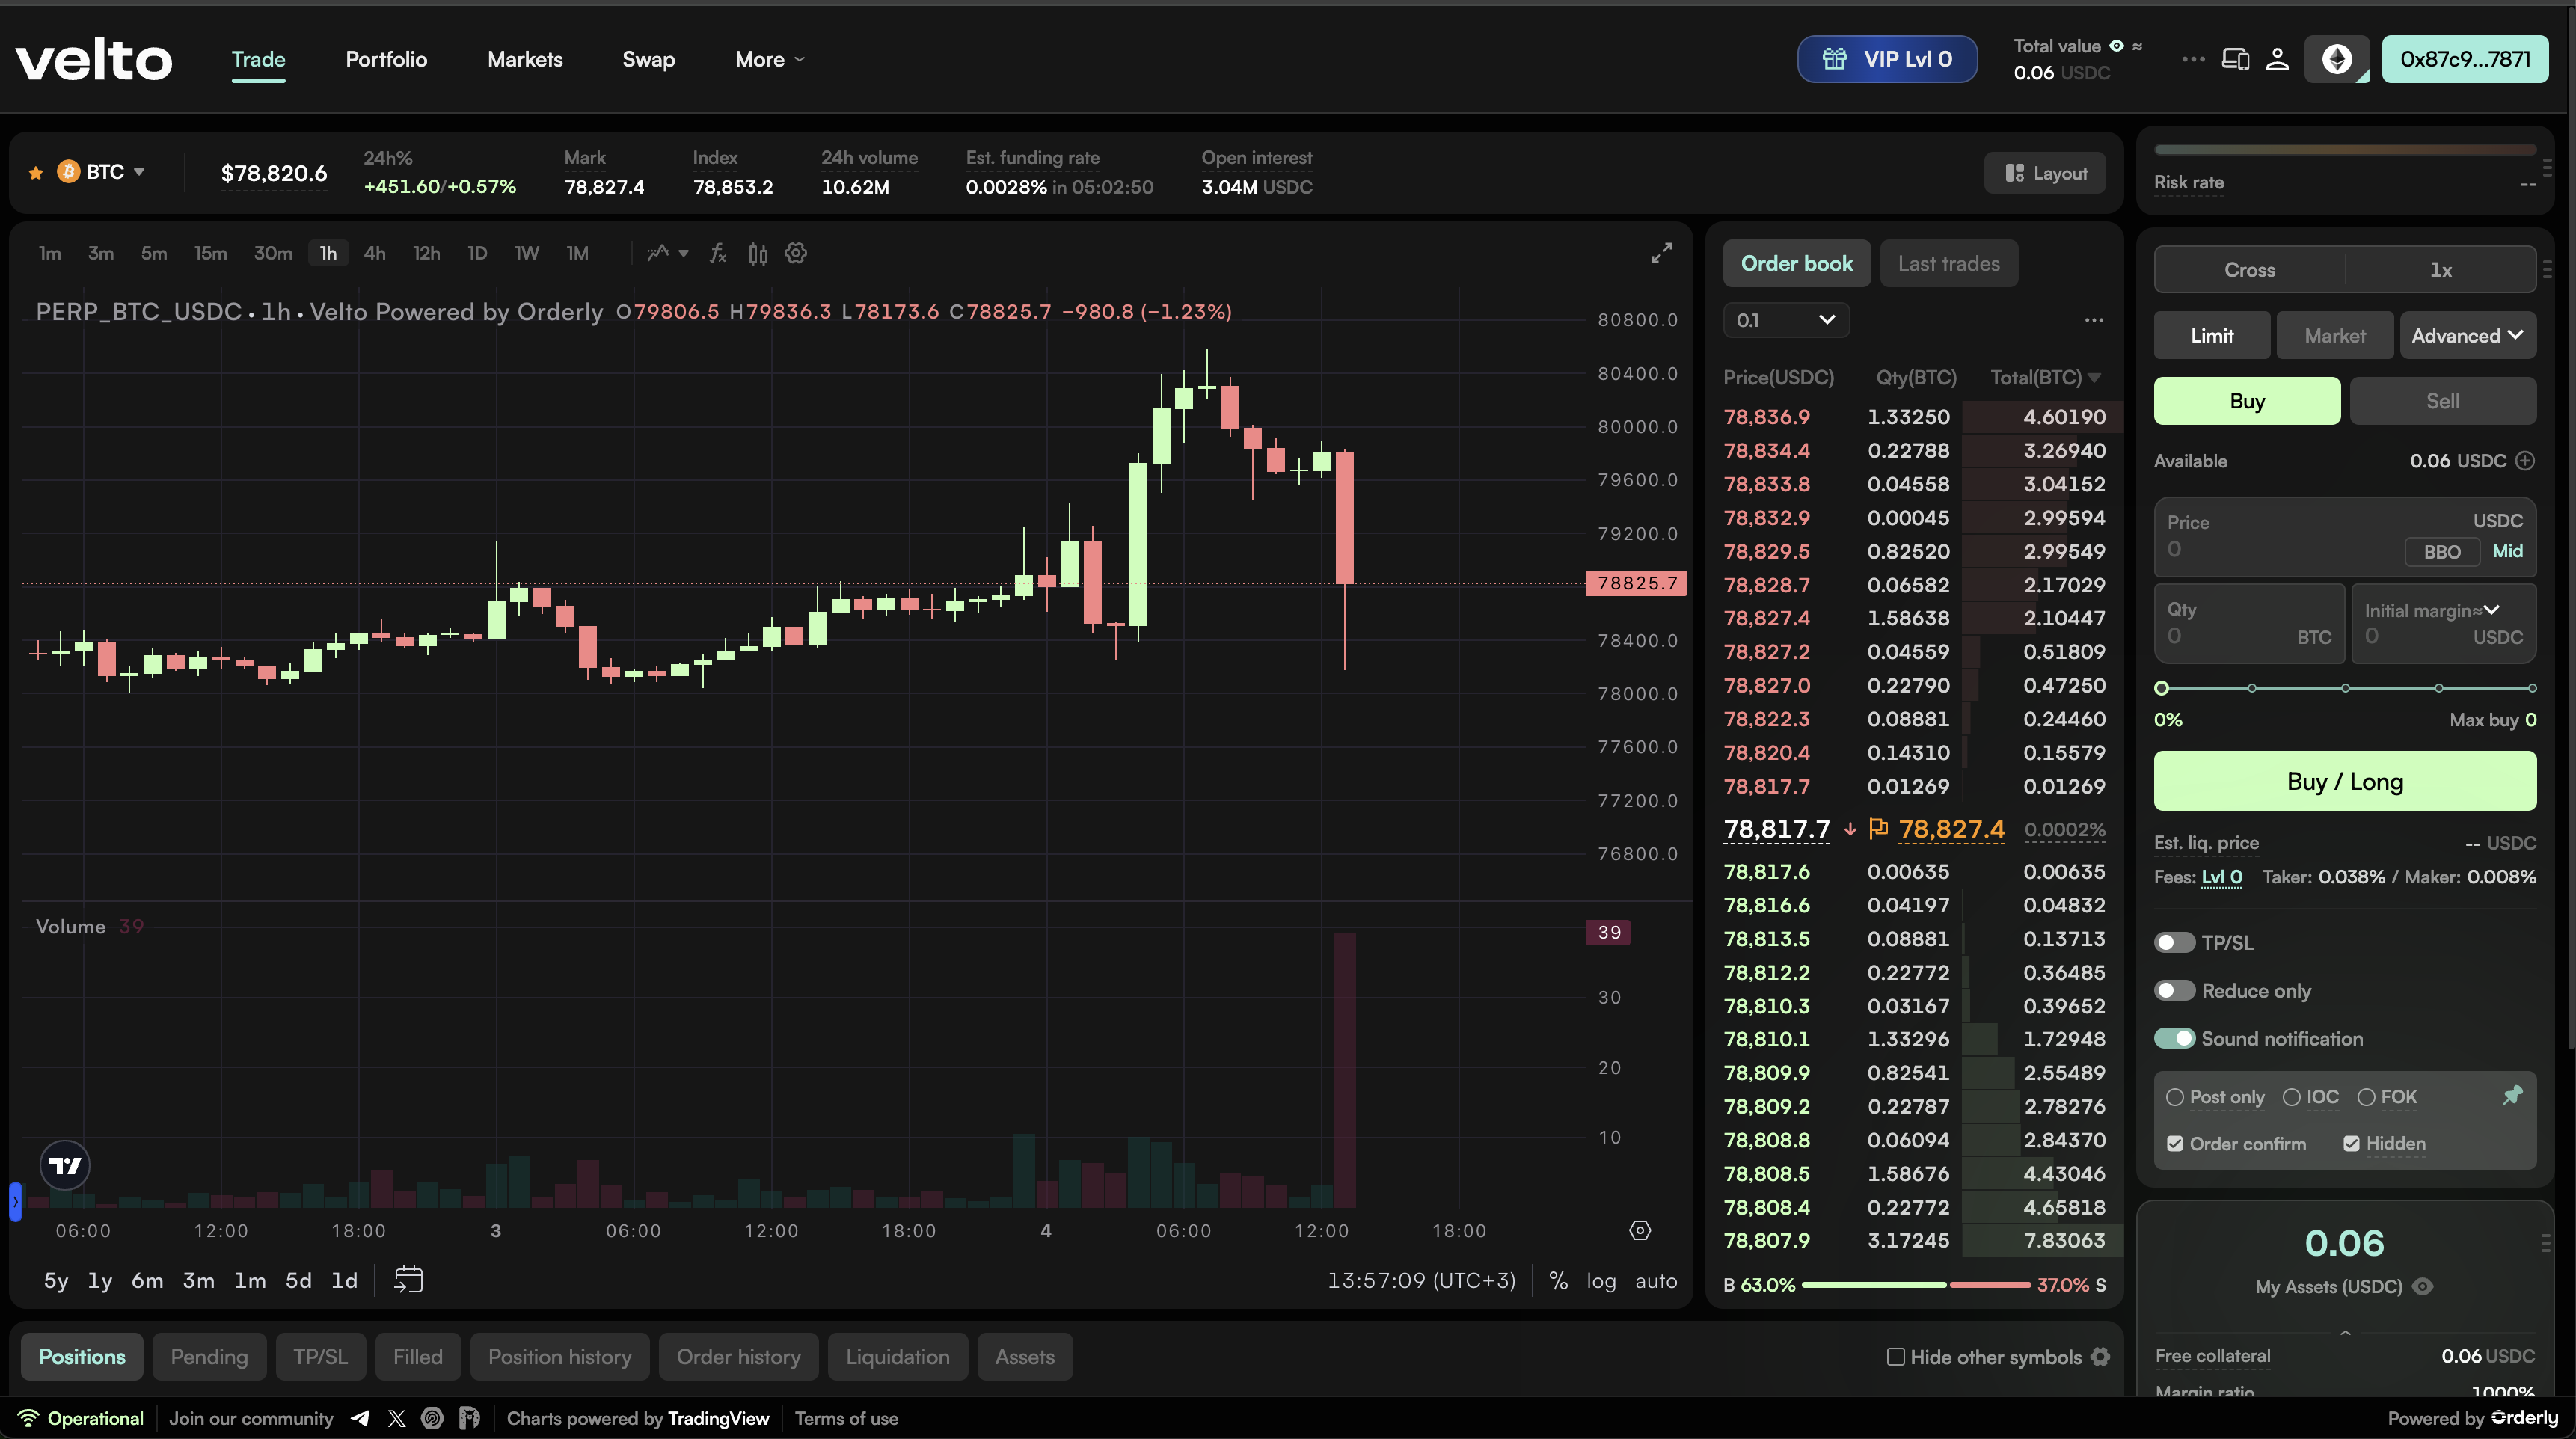
Step 3 - Start trading
Once your wallet is connected, you will land on velto's trading interface. Your wallet address will be visible in the top right corner, confirming the connection is active.
To complete the setup, you will sign two messages in your wallet: one to verify ownership of your wallet address, and one to enable trading access. These happen automatically in most cases, so your wallet should prompt you without any extra steps.
If the automatic flow does not trigger for any reason, you will see a button on screen to complete it manually. Neither of these signatures costs gas, they are simply authorisations to get your session started.
Once trading is enabled, you will need funds in your wallet before placing your first order. Make sure your wallet holds the assets you plan to trade with before getting started.
If you switch to a different network after connecting, you will need to enable trading again for that network. The same two-step signing process applies.
Disclaimer: This article is for informational purposes only and does not constitute financial or investment advice. Trading digital assets, including through non-custodial interfaces, involves significant risk. Smart contract interactions are irreversible, and lost private keys cannot be recovered. Always do your own research before making any trading decisions.
Published on
May 11, 2026